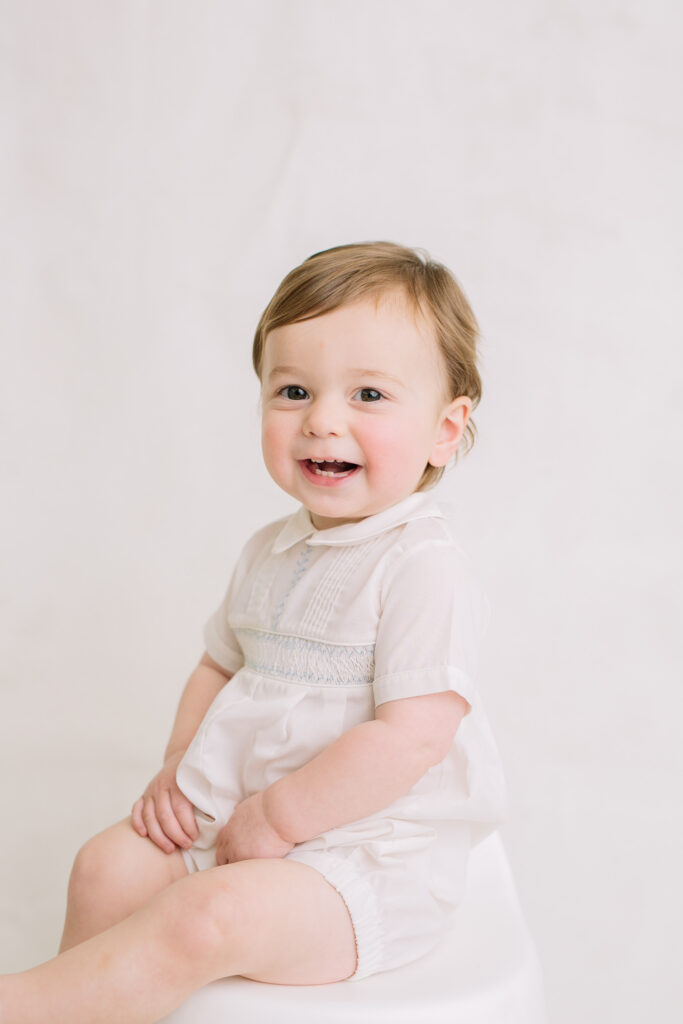
Okay, I think we all know that canvas backdrops are dreamy and beautiful. I think we also know that they can be an investment, and, while definitely worthwhile, I figured I’d give it a shot to paint my own. I had an idea in mind that I wanted to try out, and I was so pleased with how it turned out. Here was my experience – maybe this will be helpful to you if you’re also interested in doing the same!
Step 1: Buy the Canvas
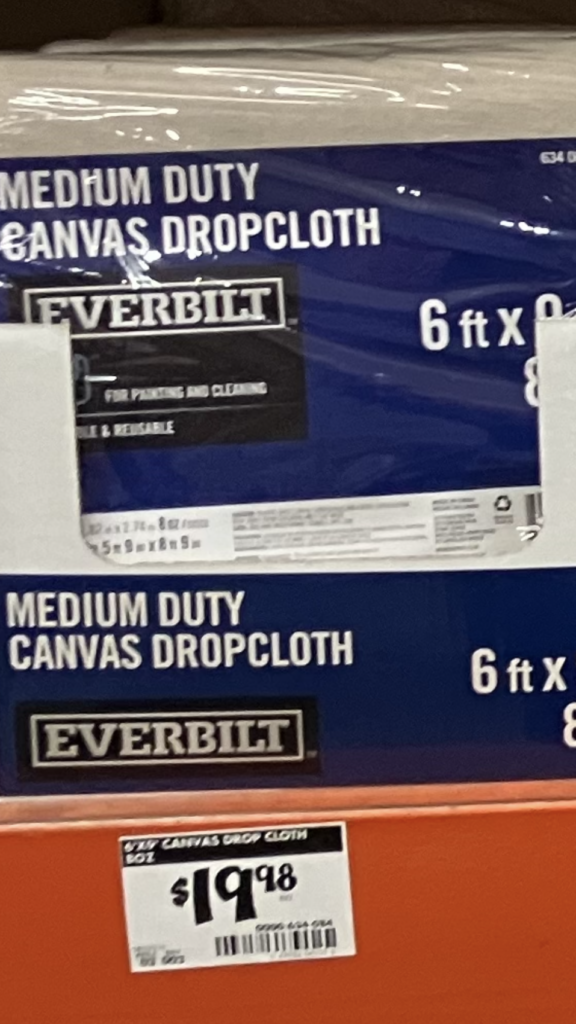
My husband happened to be on a Home Depot run, and I asked him to pick up a dropcloth canvas. He sent me a picture of this one, and I said “sure!” I was willing to put $20 down the drain if my experiment in painting the canvas failed.
*Worth noting – you will also want to grab a plastic dropcloth to sandwich between the canvas and your floor.
Step 2: Secure the Paint
We had a good amount of leftover paint as well as some sample paints from a different house project. Here’s what I used:
Primary Coat – Sherwin Williams Greek Villa
Touch Up/Outer Edges – Benjamin Moore Swiss Coffee
Touch Up/Outer Edges – Benjamin Moore White Dove
Step 3: Paint Away!
This is where the magic happens & the creativity is unleashed! A few key points:
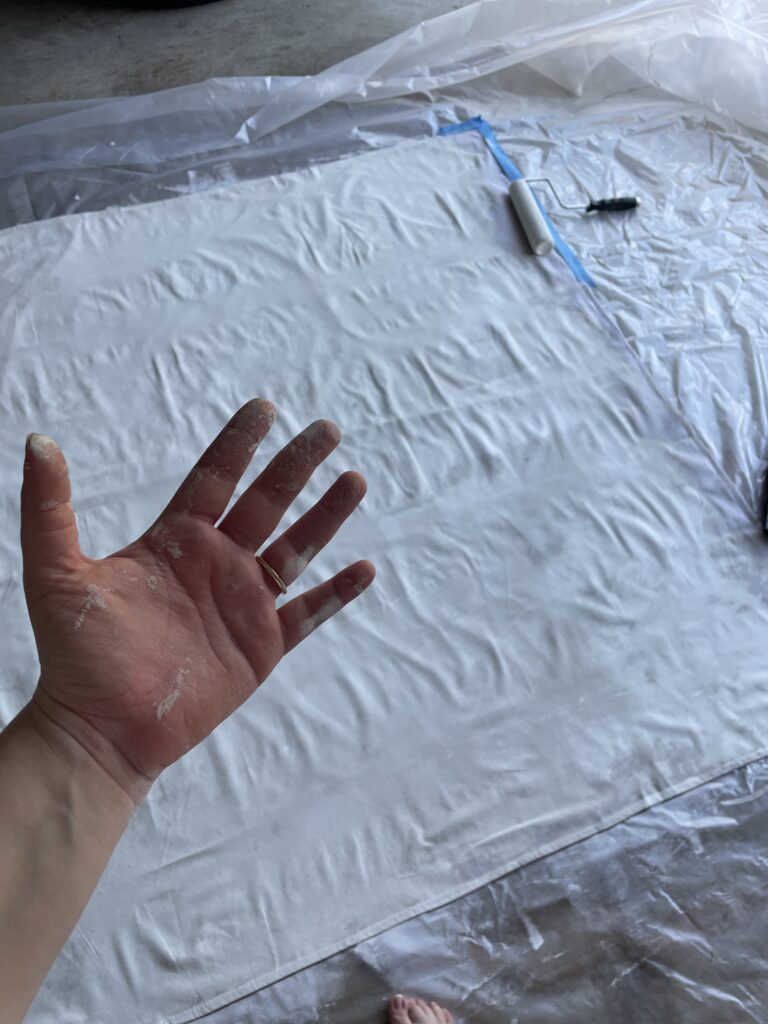
1. I chose to paint in my garage for air flow and a flat surface
2. I taped the plastic dropcloth to my garage floor, and I taped the edges of the canvas on top.
3. I used a paint roller for the initial application and touched up with a paint brush.
4. I painted the entire drop cloth in the base coat (Greek Villa) then loosely painted the vingette with Swiss Coffee and White Dove.
As someone who can’t freehand cut with scissors in a straight line or draw much outside of basic animals, I chose a color that is very forgiving – off white. I wanted the canvas to have texture, but I didn’t have to be knit picky about the vingette itself.
My hand was so sore from painting with the roller. I really had to apply my bodyweight to apply an even base coat.
Step 4: Air Dry
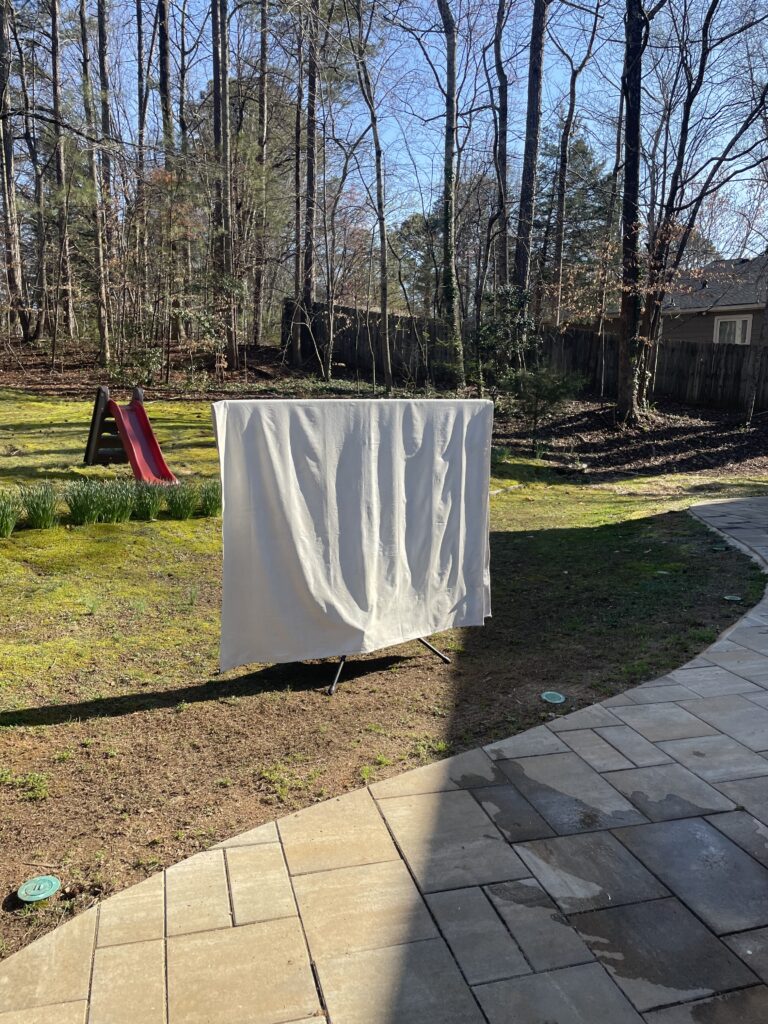
To air dry the painted canvas dropcloth, I draped it over the T-stand I would eventually clip it to for my studio backdrop. Let’s get one thing straight, a painted dropcloth is HEAVY. You will get paint on you, so definitely wear your paint clothes!
A positive thing about air drying the drop cloth over the t-stand is that I was able to touch up the paint on both sides. Being able to see it in the sun and upright was very helpful in correcting the spots I missed!
I let the canvas dropcloth dry for a few hours, and once it felt dry to the touch, I brought it inside.
Step 5: Time to Shoot!
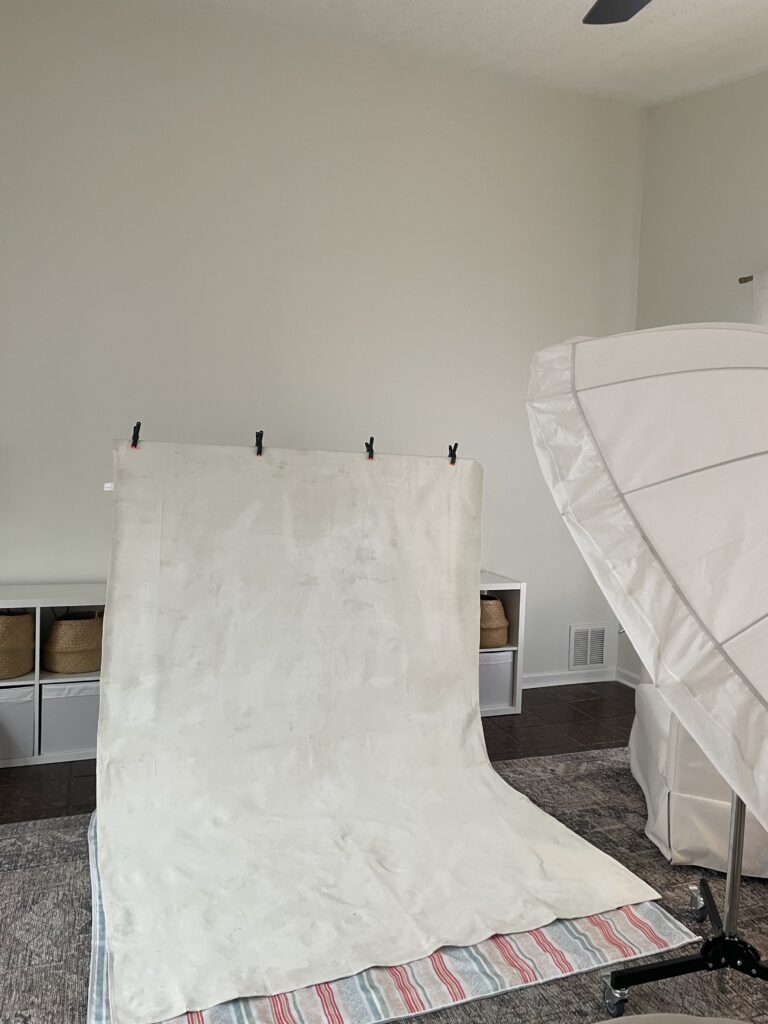
To protect my rug, I decided to lay a blanket under the dropcloth. I wasn’t 100% sure that every part of it was dry, and I didn’t want any wet paint seeping into the rug. Honestly, this was me being very Type A and OCD about keeping my rug in good shape!
I asked for a camera stand kit for Christmas, similar to this one, and it was very durable in holding up the heavy canvas dropcloth. You will absolutely want to fill up the sandbag with sand as the drop cloth has more weight to it once it is painted.
The Outcome
Goodness, I have to say – this project was successful! I was a little nervous going into my session that the background wouldn’t end up the way I had envisioned. The end goal of this specific session was an heirloom portrait (check out my portfolio here), so I knew that even if it looked bad that the background would be edited out anyways. However, the way this turned out had me dreaming of shooting so many portraits this way. It really is so creamy and soft. The painted canvas backdrop elevates my style of portraiture, and I’m excited to try out other soft hues soon!